Retrieving Data From a Dead Phone (Nokia N900)
Table of Contents
Don’t do this on a device that you ever want to turn on again. This is a last resort, if your phone turns on it’s better to do this in software.
Overview
I’m known to buy a new shiney phone every couple of years, due in part to the fact I use them into the ground and they invetiably break beyond repair.
Recent shifts to cloud backups (particularly for photos with solutions like Google Photos) have meant that it’s not too much of an inconvenience to migrate from one phone to another.
Unfortunately, for me I have plenty of phones that predates even the rise of Android. One such phone is the Nokia N900. For those unfamiliar with this phone; it runs Linux, with a distro that is loosely based on Debian. Maybe it’s the nostalgia talking, or my love for Linux but nothing beats that phone.
Like all of my phones, this one is one I loved too much, and eventually broke (screen wouldn’t turn on, wouldn’t charge, etc) and spent the better part of 7 years in the bottom of a drawer.
Read on to see how I de-soldered the storage chip and read it with my computer.
Where are the files stored?
For most phones released in the last 10 years, an eMMC chip is used for mass storage. In my particular case it was a Toshiba THGBM4G4D1HBAIR.
These chips are soldered directly onto the motherboard using a ball grid array (BGA), which are not meant to be user-removable.
What surprised me however, is that the eMMC/MMC standard is compatible with the SD card standard. Meaning that you can directly solder one of these eMMC cards to an SD card reader and read/write from it using your computer.
Indeed, this has been before and if you’ve got a steady hand and a lot of patience (something that I very much lack) you can read about it on Hackaday
Here’s a picture of my eMMC chip on the Nokia N900 motherboard

Procedure
At a high level, it’s quite simple to do.
You desolder the eMMC chip, and then you need to read it via the SD card interface.
There are a couple of solutions to read these chips, one is via an adapter and one is by soldering it directly to an SD card reader. Buying the adapter costs more, but is easier and less error prone. Soldering is cheaper, but if you suck as much as I do you’ll probably damage the chip forever.
Desoldering
You can find literally hundreds of videos on YouTube with process on how to do this.
The easiest way, and what I did was to use a hot air gun heated up to 350C directly applied to the chip on the motherboard. After a minute or so the chip will slide right off.
You’ll need to use some flux and Isopropyl alcohol to fully clean the pads of the ball grid array.
Here you can see my chip under a microscope with some flux, and shortly after cleaning it with IPA.
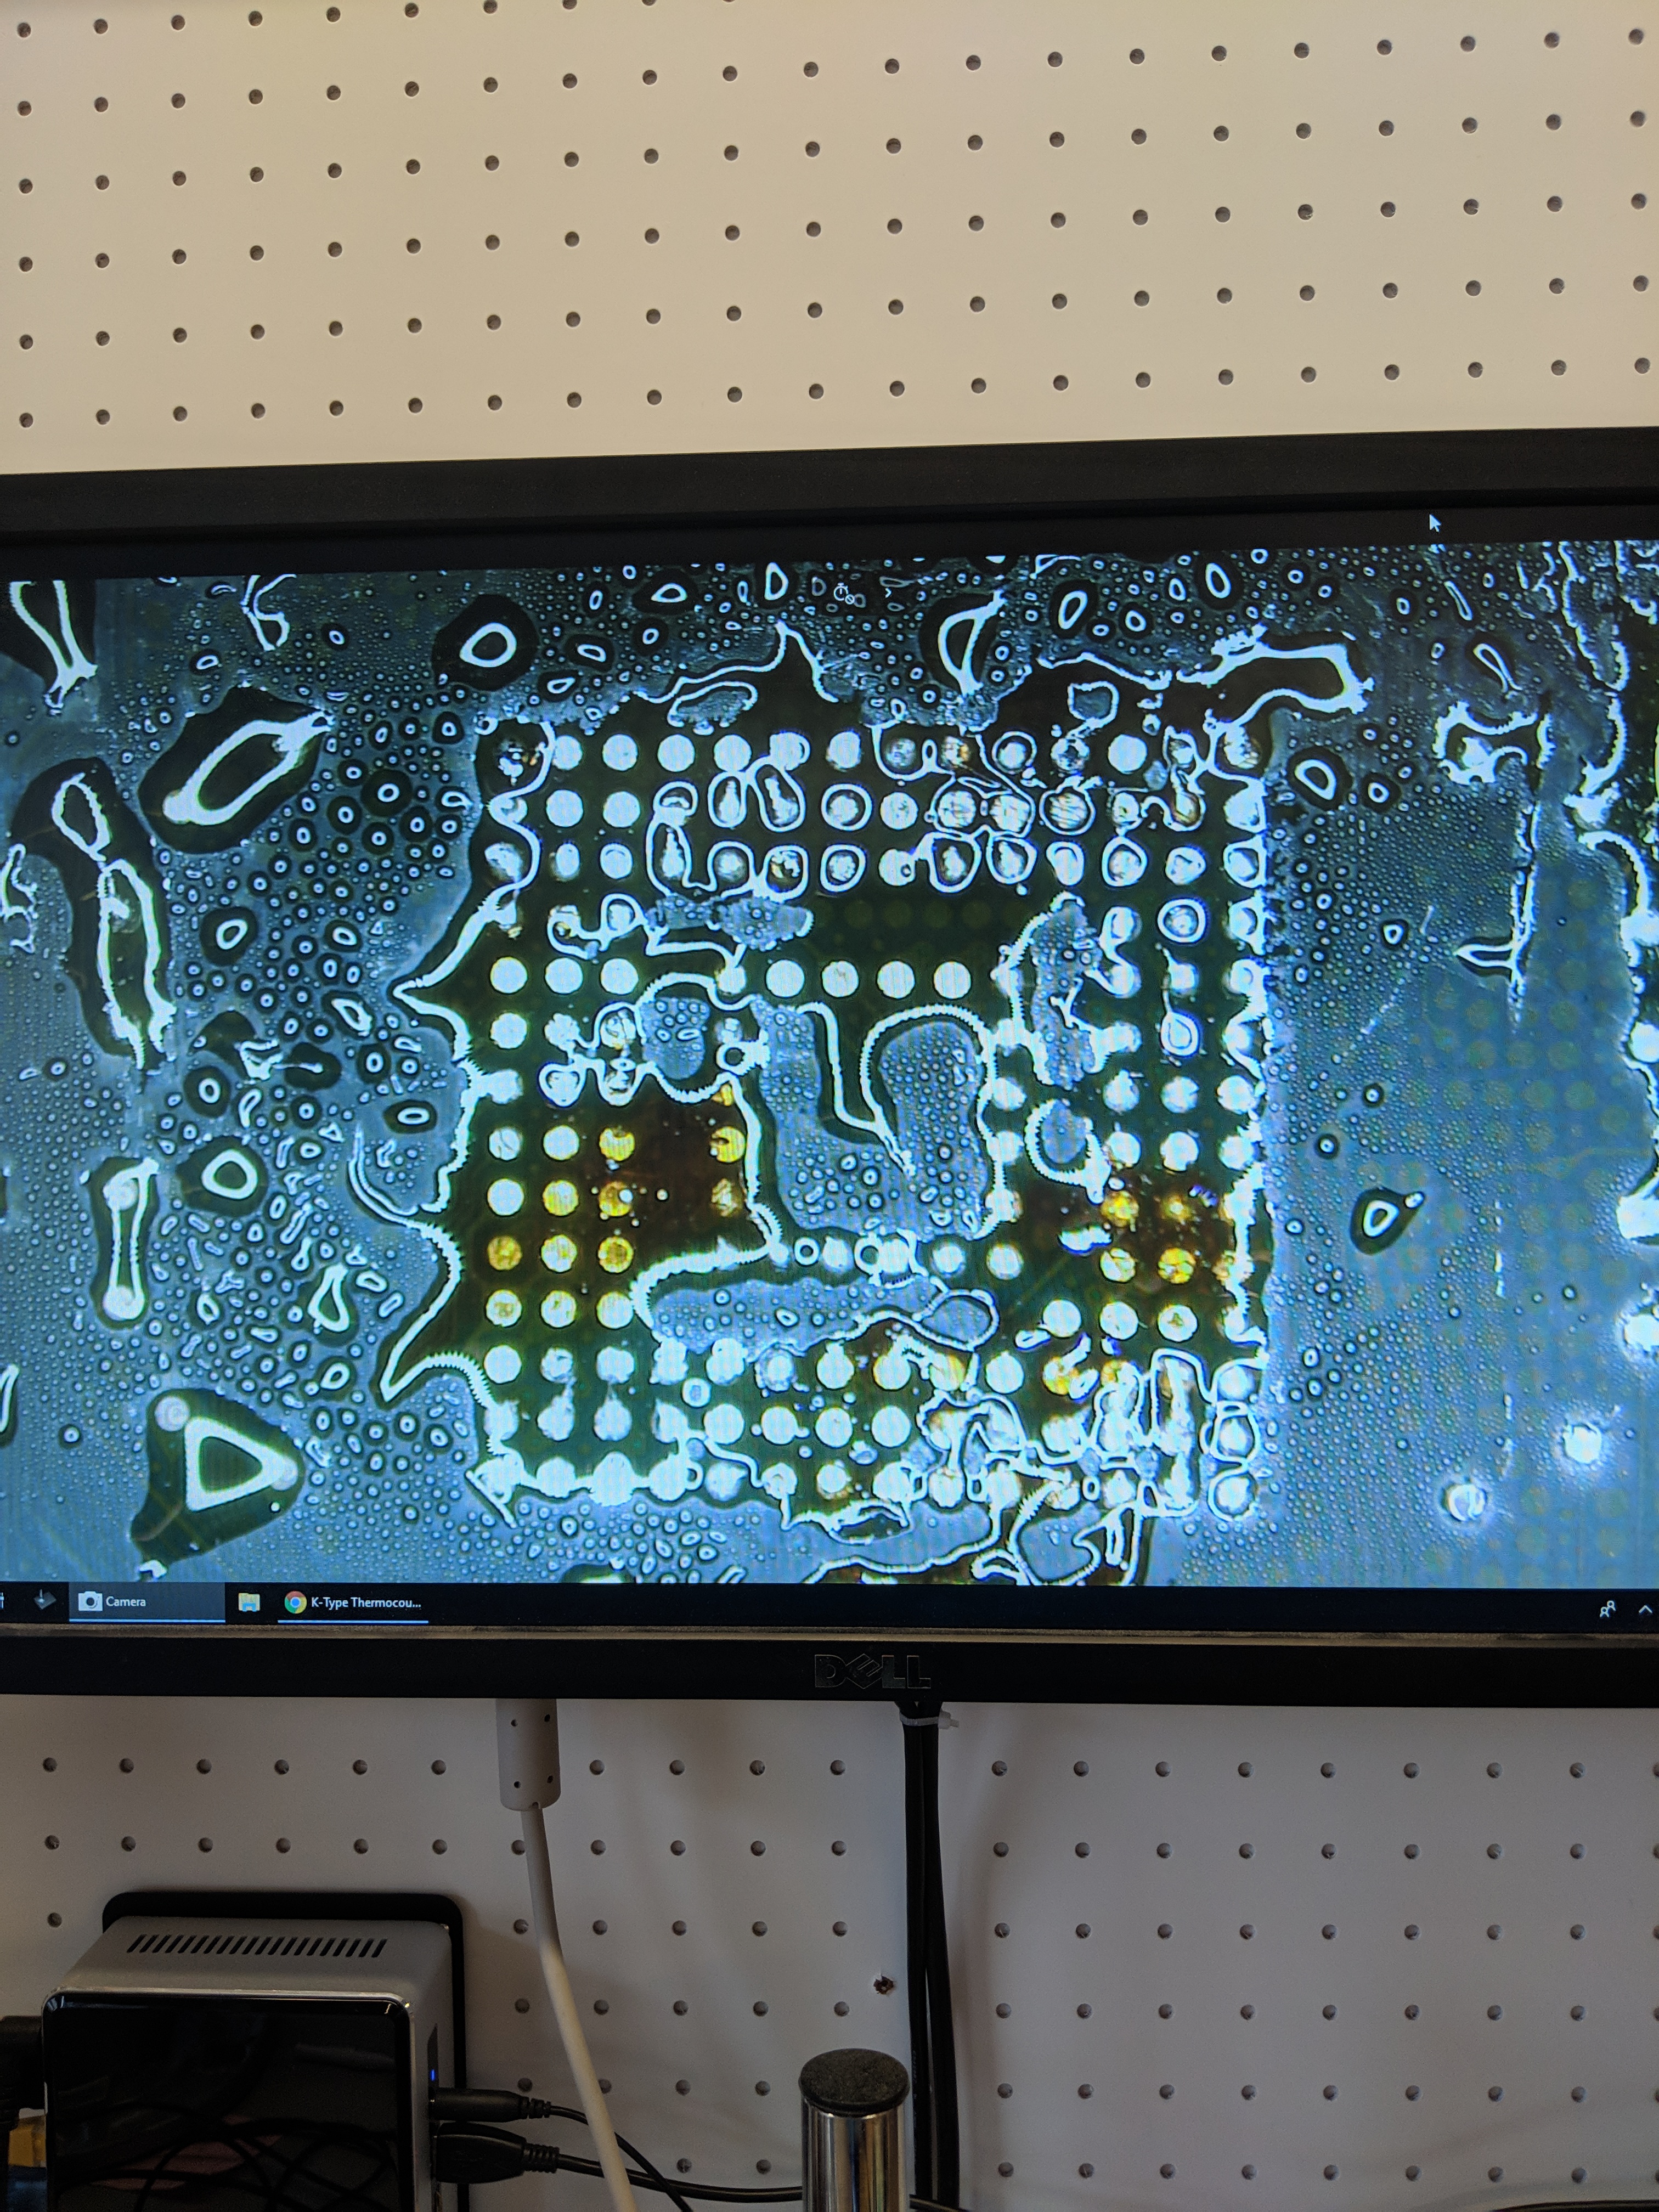

This part is the hardest, and if you’re not familiar with using a heat gun, or flux it may be tricky.
Reading it
I purchased my adapter from eBay, specifically this item
This adapter has the compartment for the eMMC chip in the centre, and then an SD card like PCB poking out.
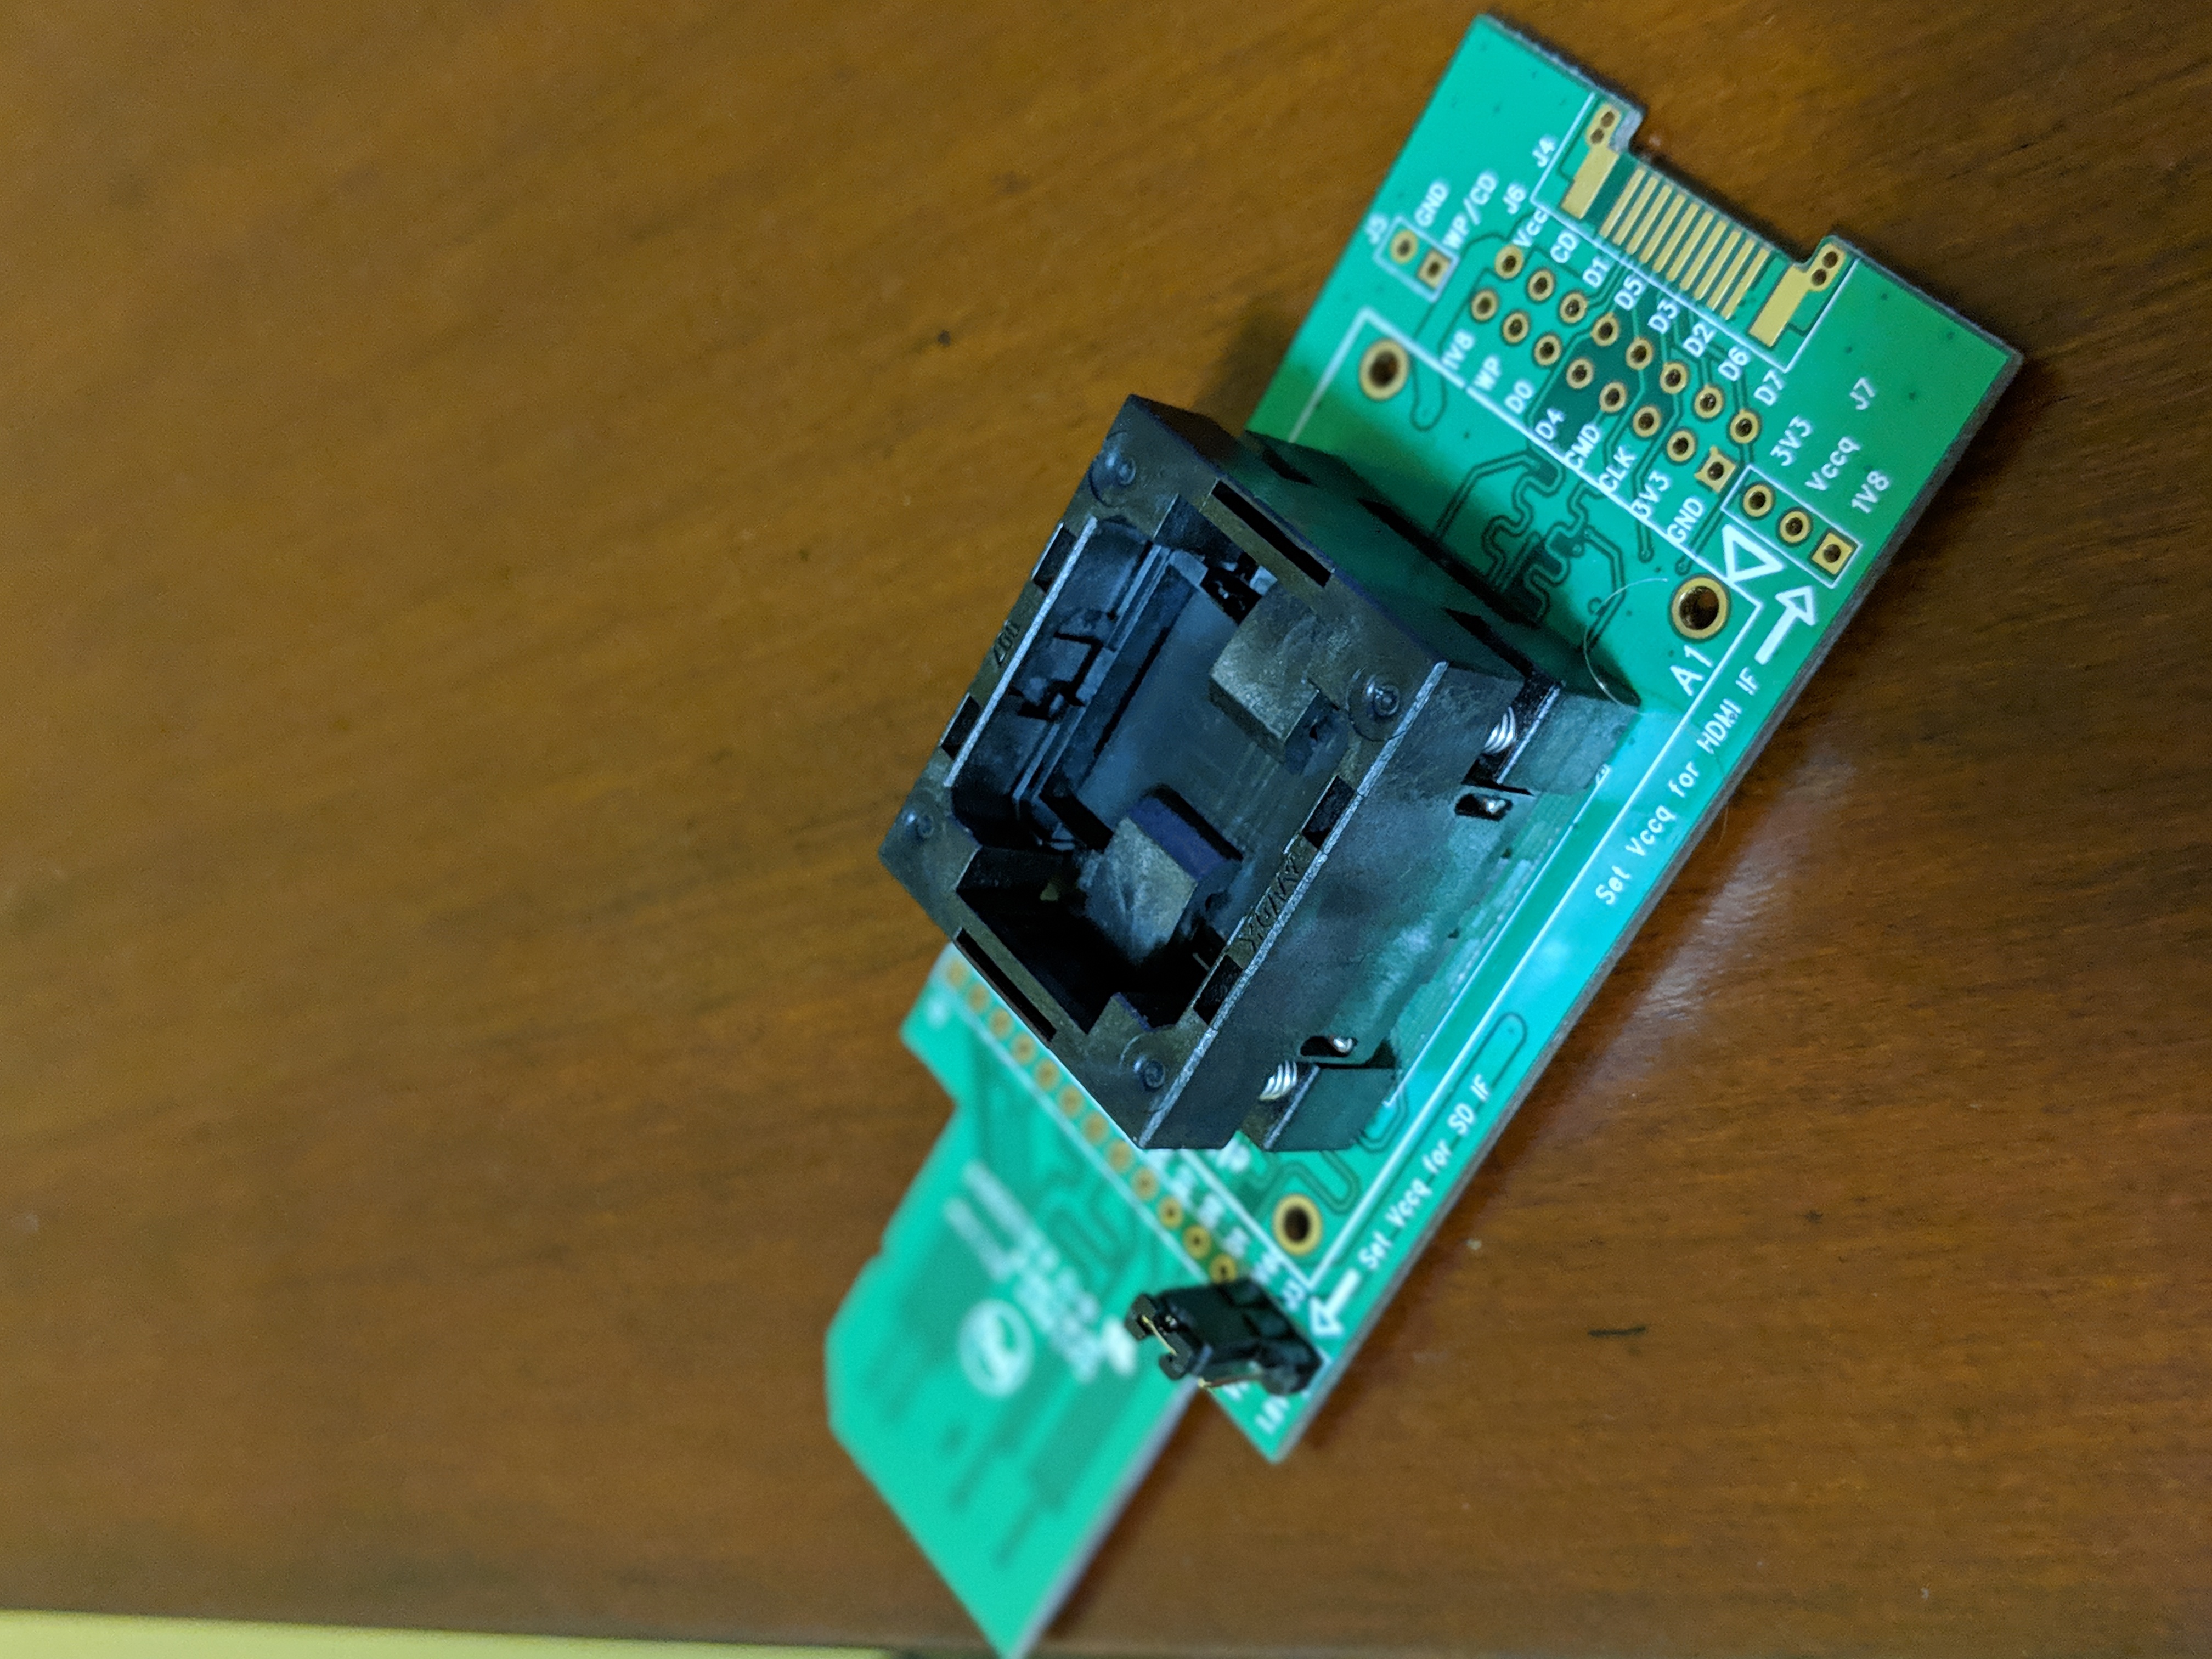
All it takes from here is placing the chip in the compartment and hoping for the best.
Retrieving your information
Hopefully when you plug this adapter into your PC it’ll immediately detect the storage. This depends on a few factors, including what filesystem the chip is using.
In the case of the Nokia N900, there’s 3 partitions:
- ext3 partition of /home
- swap partition
- ~25Gb vfat partition for data
If you’re using Windows you won’t have any problem with the vfat partition. You’ll need to download some software such as Ext2FSd to read this data.
If you can’t read this data, I would recommend not using a USB reader and using a PC or Laptop that has an SD card reader built in.
Conclusion
It really isn’t that tricky to do and I’ve had some pretty good success.
Having said that…desoldering a BGA is the easy part. Replacing a chip with another one is the hard part.
I throw the mobile phones out when I retrieve the data.